Pages

Showing posts with label Pinterest. Show all posts

Wednesday, May 14, 2014

Pinterest Party Part 3, The Crafts

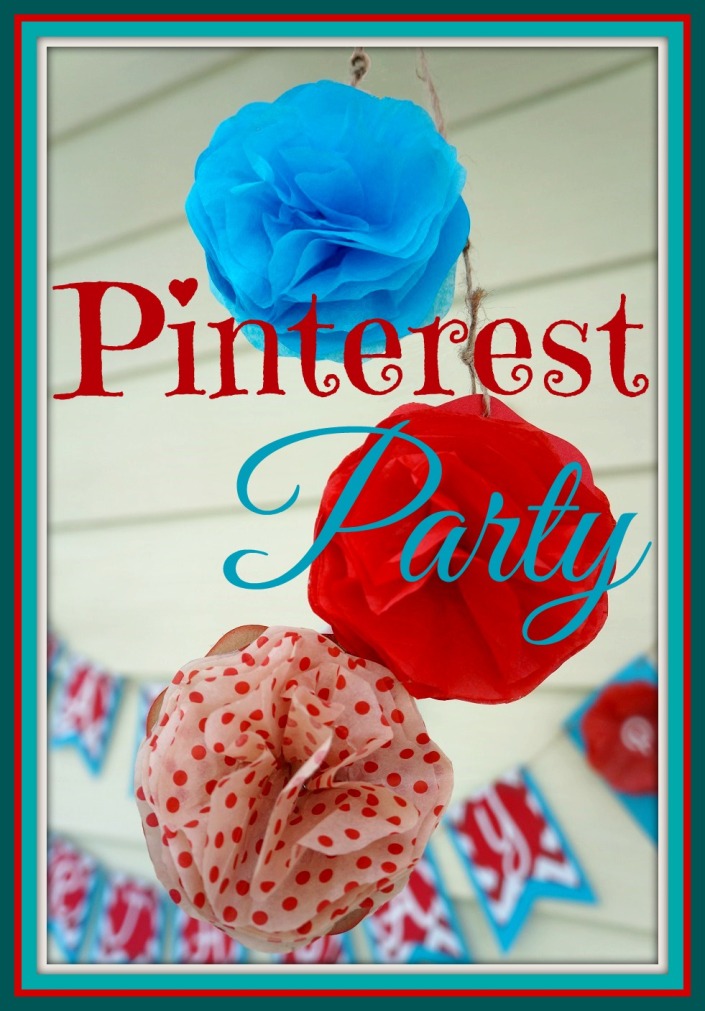
Thanks for stopping by! Today I am sharing the last post on the Pinterest Birthday party I helped to design. For the rest of the story check out part one: the theme and part two: the food as well as Heather's post on her blog.
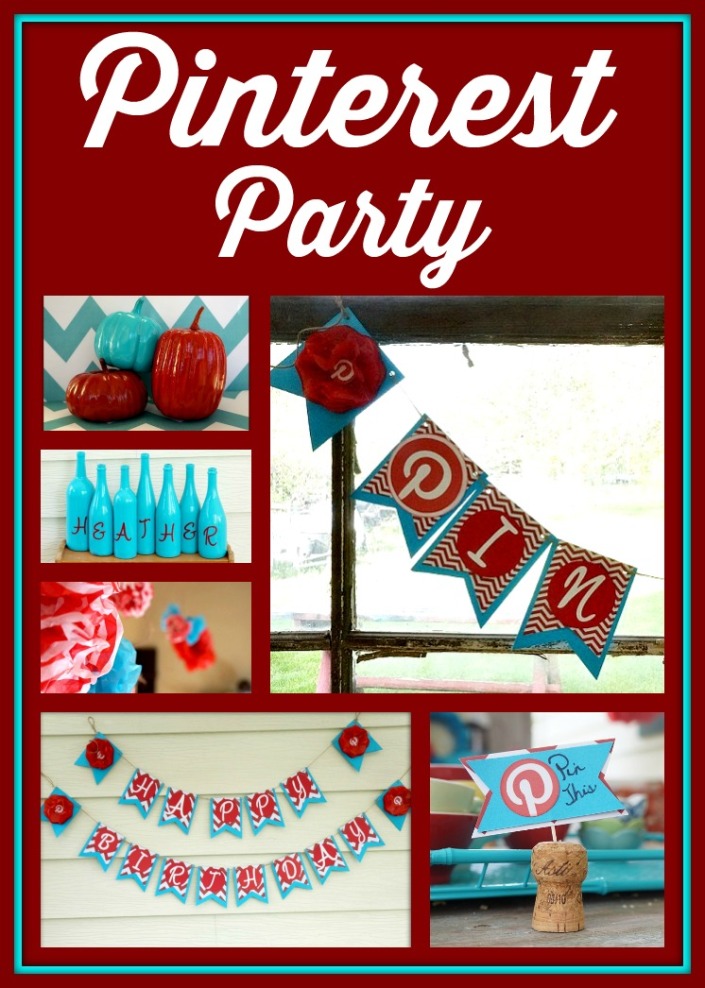
This was a crafters dream party! It was fun to pin something and then make it for the party. It as also so fun to just let the creativity flow in some projects such as these flowers.

Heather has a bunch on packing paper left over from her move a few years ago.
We used it just like you would tissue paper. Only it this is much thicker to work with. As I was "fluffing" the paper out I just happen to mess with the center to get it to form. The more I messed with it the more it started looking like the center of a flower. Which gave us the inspiration to spray paint them. We had several different looks by the time we were done. And all of it wasn't planned.

That is the best part... just start messing with something and see what comes of it! If nothing else you will bust out laughing at what you made and try again!  My favorite is the blue with yellow center.
My next flower I got the inspiration from here. I used a scallop circle shape from my paper cutting system to get these.
I used 5 layers of tissue paper, traced, cut the shape, and stapled the center. Then I adhered the flower to the same shape and color of cardstock. Then fluffed. A few of them I did double sided. These are my favorite and I am making some for samples in my store.

The "double bloom" as I call it was by accident as well. I used a short layer of tissues on top of a longer layer and this is what it made.
For your next party just experiment with your paper to see what you get. And if you mess up, just staple, glue, wire and spray paint to get the look you like! Like this one:
 We loved it, but it took a hot glue gun to get what we were wanting.

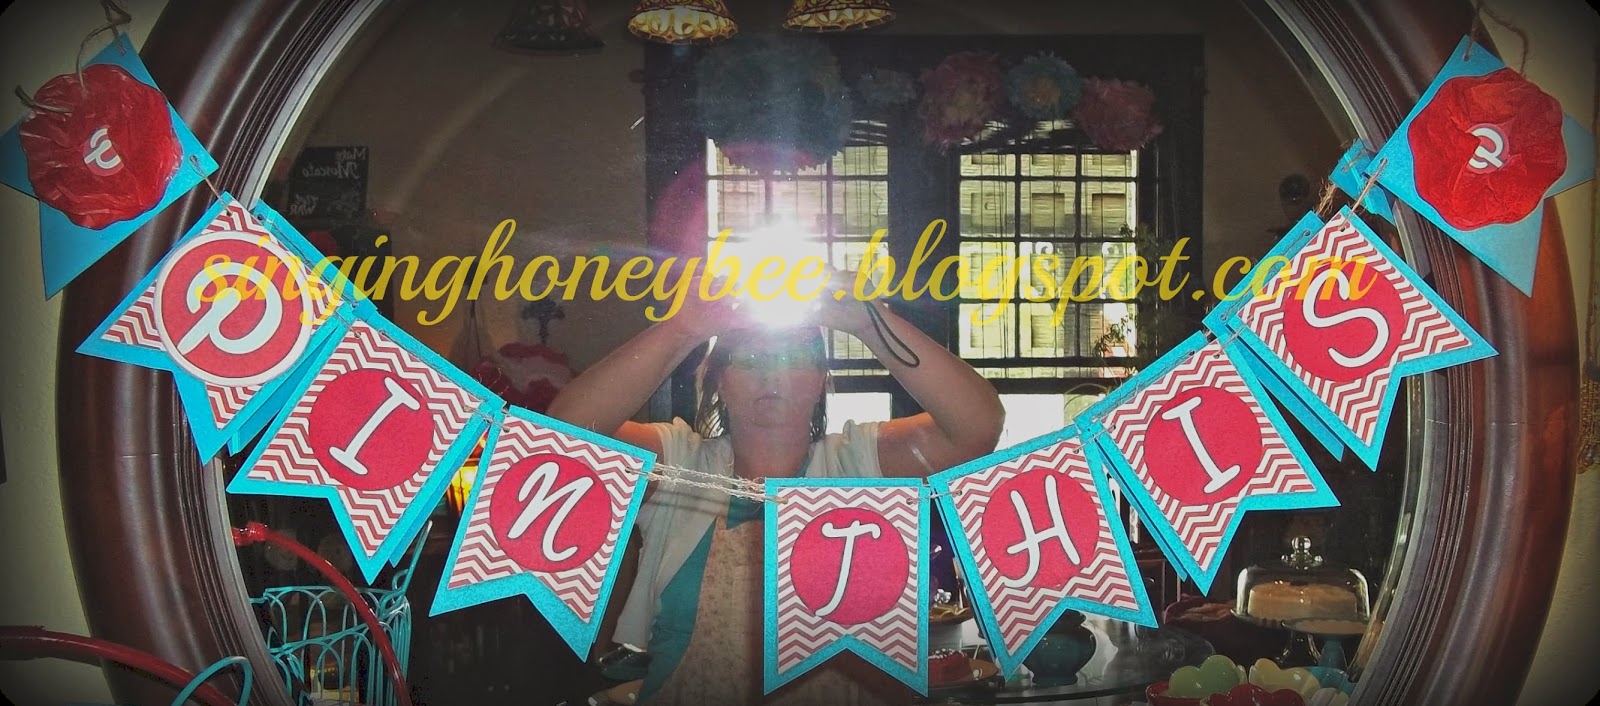
Heather wanted a game at the party. I happen to see this one. So I made my own. I used my computer screen as a light box, placed a piece of copy paper up onto the screen and lightly traced the pattern. Then used it as a guide to draw a larger one for us. Next, I just filled him in with color.
Ain't I cute?!

For his tails I used the Pinterest image I found here and glued yarn in between the P circle and another piece of cardstock on the back side.

The last thing I want to share is that Heather, has wanted to get friends together to make Pinterest items. She used her birthday as a way to get it scheduled. Originally she was wanting to just get everyone together and charge a fee to cover her supplies. But since she was now tying it in with her birthday, she wondered if she should just cover the cost herself. I told her if she did that then it would be like giving party favors. She loved the idea and calls them her "big girl party favors".

First she shared with everyone how she makes her own laundry soap.
She had them dump each of the boxes: Borax, Super Washing Soda, Purex Crystals (optional-for scent), Pure Baking Soda and 1/2 the Sun Oxy powder into a very large bowl. She then had everyone take a turn grating (so all would see how easy it is to grate) the 4 bars of Fels Naptha into the bowl. It was then all mixed together. To go with the theme we used recycled red capped creamer bottles to send everyone home with soap. They each decorated their own bottles.

The last thing I have to share it these cute chalk board crates. She has a post here She used hers for lonely socks. I used mine for my wash clothes. Others used them for bills, toys, and hair bows.

This party was a total blast. My goal in sharing all these ideas, is to encourage you to get some friends and family together, enjoy the fellowship and create together!


Monday, May 12, 2014

Pinterest Birthday Party, Part 2- The Food

For more ideas on this Pinterest birthday party go to part one and Heather's post.
Today I thought I would share all the Pinterest perfect food we enjoyed at this party and count it as a "New Meal Monday" post. Each guest was asked to bring a dish to share that they pinned or one they have been wanting to try (if they are not on pinterest). There was so much food, I didn't get pictures of it all. But here is some of the yumminess I did capture.


 And then there are these...
This is my first attempt at them and they may look good only because I hid the messy part of them in the cupcake liners! lol The first thing I did is search Pinterest under how to make cake pops My first tip: give yourself a couple days to make these so you don't rush any steps. My second tip: don't skip any steps. And my third tip: have at least double the melting chocolate than you think you will need. As I found out, what makes a cake pop look so good is 2 coats of chocolate, so back to the store I went!

I will admit this newbie to professional party planning may or may not have overbooked herself. I had this great opportunity the same weekend to publicly announce my new adventure at our local primary school's carnival. They let small businesses set a table to display their business for just $10. The response was awesome and I even got a special order that day. So worth my time!

So, because of the extra business activity I didn't use the made from scratch recipe that I had wanted to do. I also graciously accepted the help that was offered to bake the cakes from 3 boxed mixes for me. It saved me a step! Thank you Mr. Awesome! Once the cakes were done and my table all packed up I picked up these cakes all ready to go. We used 1 strawberry boxed cake and 1 white boxed cake and 1 lemon boxed cake colored turquoise! I don't have every step because I was new to this type of cake making and in a time crunch. So next time I will have a more step by step process for you.


The first thing I did when I got the crumbled cakes home is make up a batch of homemade cream cheese frosting. I will share in another post for you the recipe. Just mix in a little bit of frosting at a time. You want it to stick together but not be too mushy. Once you think you have it right (the only way you will know is to do this a few times). This first time I was just praying I did it right! Put them in the fridge for at least 4 hours. I needed them to turn out (no time for a back up plan) so I did overnight in the fridge.

They look so pretty and colorful! But just keep reading. lol!


The next morning is where it got interesting. And I only have the one picture because I was not enjoying this process.
Because it takes 2 coats of chocolate to make them look so nice I did all of the ones with out sticks in white chocolate to save time and money. (I originally wanted them 3 different colors). I also had to get them in the fridge as soon as the chocolate coat went on. The sticked ones I had in white chocolate for the first coat then colored for the second.
I had to do this crazy karate chopping action on my wrist to get the extra chocolate off the sticked pops. (That was one of the instructions I read up on. Tap your wrist not the stick or you will break the pop off the stick). Aside from all the steps to get them on the stick without them falling off they coated so much nicer than the ones without the sticks. I couldn't get a clean coat with the stickless ones.


Once all the pops were coated a second time, with the remaining  red and turquoise melted chocolate, I put each in a separate sandwhich bag, snipped of just a tiny corner and piped the swirls or dots on all the pops. Some I topped with sprinkles. 


 My honest feelings and thoughts during the cake pop making processes was "I don't like this, way too much work, and I am not impressed." I also may have swore off doing these ever again. Hahaha joke is on me because EVERYONE loved them including my husband, which totally surprised me. He said he loved the dense cake part. ...so I will be trying these again now that I know what to expect.
 Later this week I will share the final part of this party in some things we made for and during this event. For another perspective be sure to check out Heather's post. Thanks for stopping by!

Wednesday, May 7, 2014

Pinterest Birthday Party, Part One

Pinterest Part Title 


I was at my friend Heather's house sharing ideas and asking her opinion of some of my etsy creations. Honestly, she fell in love with them. She wanted some for her grandkids and also for herself. She had been wanting to do a Pinterest party for some time. (Where she would gather friends together to share Pinterest inspired food and then make a few craft items found on Pinterest).
Her birthday was approaching and her son wanted to do something special for her. Long story she wanted a Pinterest inspired party. I had asked what she thought of going ahead and making it a Pinterest themed party. Between her ideas and mine. This is her Pinterest Birthday Party...

Pinterest Party Cover 1

She talks in her post about how we arrived at the color scheme. It was bright, fun and Pinteresty perfect! Because it was a Pin inspired party I wanted to use not just mine and her ideas but also what we found on Pinterest as well.
If you have never been on Pinterest it is a lot of fun! It is an online bulletin board where you can save all the great ideas you find. We had tons of ideas of course so I will share with you what we "pinned" it down too! To quote Heather "It was as if a Pin had stepped right off of Pinterest and into my living room!!!"

To start with I made invites for her, I pinned the ideas and images from Pinterest of course. You can find most of these pins on my Heather's Pinterest Party board.

Then I made for her what inspired this whole thing in the first place, her birthday banners.

so sorry for the glare of the flash
 Heather wanted to add these.
She spray painted wine bottles and I used my Cricut machine (on deep and slow cut setting) to cut the red vinyl letters for her. She then wanted to use what she had for flowers. The daffodils and tulips had already come and gone, the iris and peonies were not ready yet. But what is in full bloom... dandelions. They actually were so pretty in contrast to the red and teal.

She also wanted a small banner so I came up with this for her...
We then made all kinds of flowers. I will do another post on how these were made.


This last one is one that I have only seen on Pinterest which links to this site.
Other items we used...
pumpkins she painted
my spring wreath
all the little added touches
"Pin" This!
Her cake stands and cake pops
She's just adorable!
In the next few posts I will share the food and cake, "how to" on some of the ideas, and the make and takes we did. Heather is also sharing her thoughts on the party as well on her blog Dumpster Diving Darling

Thank you for stopping by! We hope this inspires you to get friends and family together and celebrate life and creativity!


linking up at: